Which Print Method Actually Survives on a Stretch Neoprene Face?
Dye-sublimation puts colour into the polyester face and has nothing to crack; a silicone screen print works on dark colourways if its cure is right; embroidery perforates the closed-cell core. Choose the route with the face fabric, then record the press parameters.
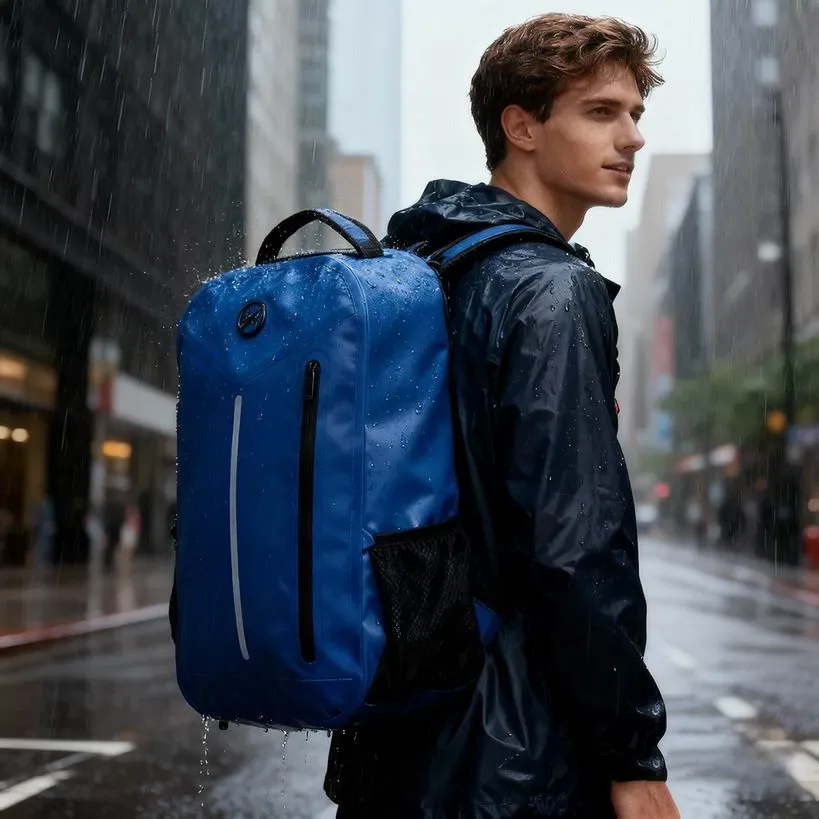
Three print routes survive on a neoprene panel: dye-sublimation into a polyester face fabric, a silicone or high-stretch screen print formulated for extension, and an applied badge. Heat transfer is possible but constrained by what the foam tolerates, and embroidery perforates the sheet so it needs a backing and a reduced density. Every route fails in its own way, and the choice has to be made with the material rather than after it.
A neoprene article is decorated on a moving surface. Underneath the logo, the panel will stretch by tens of percent every time the article is filled or picked up, it will flex at every seam, and it will be compressed and released a great many times over its life. A print designed for a stable panel has no answer to any of that, which is why logos on this material crack, craze and lift in ways the same artwork does not on a woven shell. This page sets out what each route actually does to the panel and to itself, and how to specify one that survives.
Why Does Neoprene Resist Standard Printing?
Three properties work against the artwork. The surface is a textile face bonded to a foam that moves underneath it, so anything sitting on top has to stretch and recover with it. The surface energy is low enough that standard plastisol adhesion is poor without a promoter or a specific formulation. And the panel is heat-sensitive: the temperatures and dwell times a conventional heat transfer asks for can exceed what the foam will tolerate, which is why a successful decoration on one material can arrive here already damaged.
The consequence is that decoration is a material decision and not a finishing note. Choosing the print after the panel has been specified usually means choosing between changing the face fabric, changing the print method, or accepting a logo that degrades in service. Doing it in the other order — deciding how the brand mark has to look, and then choosing the face fabric and the route together — costs nothing and settles the whole question at tech-pack stage.
| Route | What it does | What it needs | Typical failure |
|---|---|---|---|
| Dye-sublimation | Dye enters the polyester face fibre itself | A polyester face fabric and a light colourway | None structural; the mark softens with light exposure |
| Silicone screen print | A thick elastomeric film sits on the face | A high-stretch ink, correct cure and a low-heat press | Edge lift and cracking if the ink cannot extend |
| Heat transfer film | A printed film bonded under heat and pressure | A low-temperature, stretch-grade film and a controlled press | Foam collapse under the press, or a stiff patch that will not move |
| Embroidery | Thread sewn through the whole laminate | A backing, a lighter density and a ballpoint needle | Perforation, puckering and eventual splitting of the panel |
| Applied silicone badge | A moulded or printed badge bonded on | A stated peel strength and a compatible adhesive | Edge lift at the corners of the badge |
| Digital direct print | Ink deposited on the face fabric | A pretreatment and a compatible cure, always trialled first | Poor wash fastness and poor stretch behaviour |
How Does Dye-Sublimation Work Into a Laminated Face?
The disperse dye sublimates under heat, passes into the polyester fibre and fixes there, so the colour becomes part of the fibre rather than a layer on it. Because nothing sits on the surface, there is no film to crack and no edge to lift, and the artwork stretches with the fabric without complaint. On a panel destined for heavy flexing this is the most durable route available.
It carries two constraints. The face fabric has to be polyester — a nylon face or a blended face will either reject the dye or produce a dull result — and the colourway has to be light, because sublimation dye is transparent and cannot build a light image on a dark panel. The second constraint is why dark neoprene articles usually carry a badge or a silicone print rather than a photographed image.
It also needs a word about heat discipline. The panel cannot be left under a hot press for long, and every neoprene decoration operation should have a stated temperature, dwell and pressure recorded and checked rather than left to operator judgement. Ask for that record with the sample approval, because it is what the reorder depends on even more than the artwork file does.
When Is Silicone Screen Print the Right Answer?
When the artwork has to read as opaque on a dark panel, or when it has to have a raised tactile presence. Silicone inks are elastomeric and extend substantially further than a plastisol, they bond adequately to a low-energy face with the right promoter, and they recover after being stretched, which is why they are the standard route for branding on stretch panels generally. They also give a clean raised edge that photographs well.
The two things to get right are cure and film thickness. An under-cured silicone stays tacky, picks up dust and marks other goods in the carton; a film applied too thickly loses its ability to move with the panel and eventually delaminates in patches rather than cracking in lines. Both are operator-set variables, which means both belong in the tech pack as numbers rather than in the supplier memory as habits.
What Does Embroidery Do to a Closed-Cell Panel?
Every stitch is a hole through the closed-cell structure, and a dense logo is several hundred holes in one place. Two things follow. The panel is locally weakened, so a densely embroidered area is where the article will eventually tear. And the closed cells are opened along the stitch path, so water can reach the interface between foam and face, which is how an embroidered logo turns into a lifted patch rather than a logo that has merely aged.
Where embroidery is required, three mitigations are standard and effective. Use a backing behind the embroidery to spread the load, reduce stitch density well below what a woven panel would take, and keep the design away from a fold line and away from a seam. Then specify a wash test afterwards to check that the perforated area has not opened, rather than assuming a flat sample on the bench means anything.
- Route
- Named: sublimation, silicone screen, transfer film, embroidery or badge
- Face fabric
- Fibre and construction, since sublimation needs a polyester face
- Ink or film grade
- Named grade with its stated elongation capability
- Press parameters
- Temperature, dwell and pressure, recorded and checked per run
- Cure
- Stated cure condition and how it is verified
- Coverage
- Maximum print coverage as a share of the panel area
- Placement
- Minimum distance from every seam, fold and edge
- Wash durability
- Appearance after laundering to AATCC methods, with a stated cycle count
- Rub fastness
- Stated result under AATCC crocking method, wet and dry
- Reference swatch
- A printed panel retained from the approved run
How Does Heat Transfer Behave Against a Heat-Sensitive Foam?
It behaves well if three numbers are respected and badly if they are not: temperature, dwell and pressure. Too much heat or too long under the platen and the foam collapses locally, leaving a visible depression with a print sitting in the bottom of it — a defect nobody attributes to the press until it happens twice. Too much pressure and the same thing happens faster.
The answer is a low-temperature, stretch-grade transfer film and a recorded press setting validated on the actual panel rather than on a swatch. Ask to see the setting alongside the approval sample, because two suppliers running the same artwork at different temperatures will produce different results, and only one of them will be repeatable twelve months later.
Which Inks and Films Fail, and How Do They Fail?
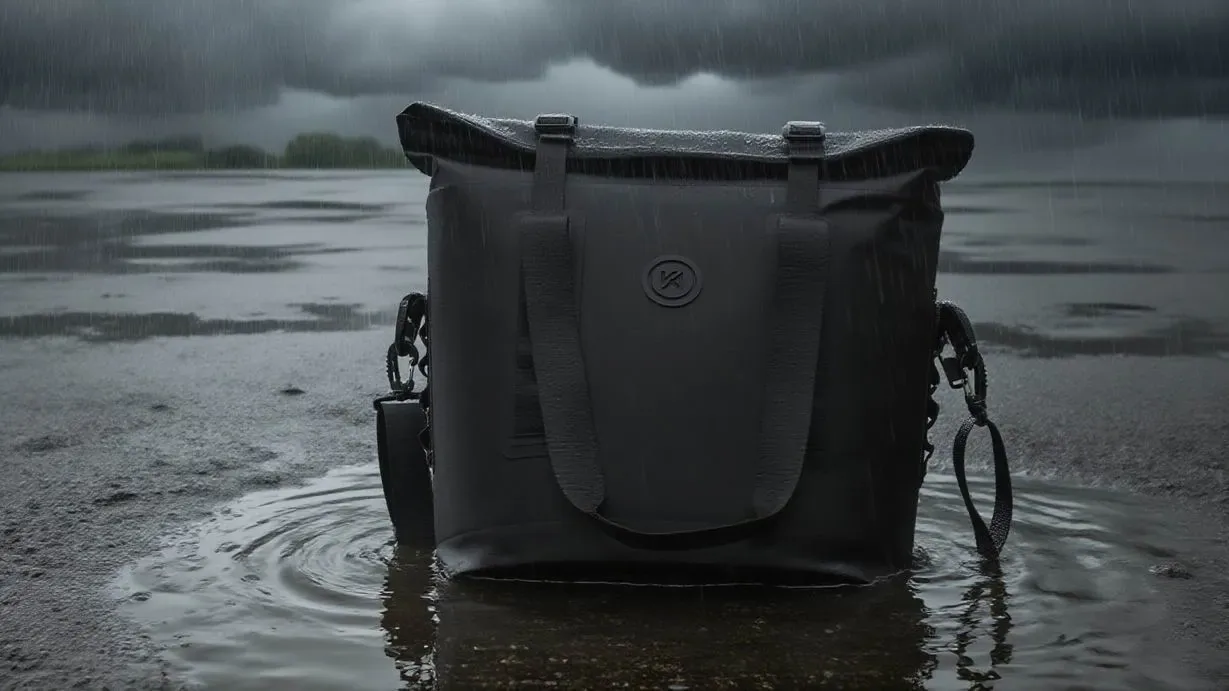
Standard plastisol fails by cracking, because it is rigid relative to the panel and cannot follow it; the cracks follow the extension direction and look like a dried riverbed. A rigid transfer film fails by lifting at its edges, which is where the strain concentrates. A poorly cured silicone fails by going tacky or by delaminating in patches. A direct digital print without a compatible pretreatment fails at the first wash, by fading unevenly rather than by any mechanical route.
There is one failure that is specific to this material and worth naming separately: print shrink-back against a stretched panel. If the panel is held under tension when it is printed and then released, the artwork is compressed relative to its intended geometry and sits in a slightly raised ridge. Printing on a relaxed panel and testing the result under extension avoids it.
Specifying decoration that survives
- Decide the print route with the face fabric, not after the panel is already specified.
- Sublimation into a polyester face has nothing to crack and nothing to lift.
- Silicone wins on dark colourways; its cure and film thickness are the two variables to control.
- Embroidery perforates a closed-cell panel, so it needs a backing, lower density and a wash check.
- Record press temperature, dwell and pressure; panels are heat-sensitive and panels remember.
How Should a Logo Be Sized, Placed and Spaced?
On this material placement is a durability decision. Keep the artwork away from every seam by a stated distance, because that is where the panel folds and where any rigid layer will fail first. Keep it away from fold lines, since every additional layer through a fold increases the radius the panel has to turn. And keep it away from high-abrasion zones — the base edge, the shoulder contact area — where the face fabric will wear through before the print does.
Coverage limits matter for the opposite reason. A large solid print area stiffens the panel and stops it from draping, so an article designed to fold can acquire a crease it cannot lose. Keep total coverage moderate, prefer open designs to full panels, and where a large area genuinely has to be covered, test the fold on a production unit rather than trusting a flat presentation sample.
One further placement rule has no equivalent on a woven panel and deserves stating plainly: never print across the line on which the article will habitually fold. That line is often invisible in the artwork file because it is a consequence of how the article is packed rather than how it is drawn, which is exactly why it should be found during sampling by folding the sample rather than found in the field by a customer.
Which Tests Verify a Neoprene Print?
Four, and only the last two are specific to this material. Colourfastness to laundering is assessed under AATCC methods, which sets the cycle count, the detergent and the temperature. Rub fastness — crocking — is assessed with the AATCC crocking method, wet and dry, and it catches the ink that has not fully cured. Light fastness matters for any article displayed in a window or used outdoors, and ISO 105-B02 gives the standard conditions for exposure against a blue wool reference.
The specific ones are stretch-cycle appearance and post-laundering adhesion. Stretch the printed area to the extension the panel reaches in service, release, repeat a stated number of cycles, and inspect for cracking, crazing and edge lift. Then wash the specimen and repeat the inspection. Those two tests catch every failure mode listed above, and neither brings any apparatus beyond what a sampling room already owns.
| Verification | Method source | What it catches | Suggested acceptance |
|---|---|---|---|
| Laundering colour change | AATCC colourfastness methods | Dye bleeding and general fade | A stated grey-scale grade after a stated cycle count |
| Crocking, dry and wet | AATCC rubbing fastness method | Under-cured surface ink | A stated grade both ways |
| Light fastness | ISO 105-B02 against blue wool references | Fading in sun or window display | A stated grade after stated exposure |
| Stretch cycle appearance | Buyer protocol: extension, cycles, inspection | Cracking and crazing as the panel extends | No cracking after a stated cycle count |
| Post-wash adhesion | Buyer protocol: wash, then stretch, then inspect | Edge lift and delamination in patches | No lift at any edge |
How Does Print Choice Move Cost, Hand and Hand-Time?
Sublimation is economical at volume and adds almost nothing to the hand of the panel, because it adds no layer; it needs a screen line of its own only for the paper. Silicone screen print costs per colour per position and adds a tactile layer that most buyers regard as a plus. Embroidery is the most expensive operation here and has the highest rejection risk, both because it is slowest and because it damages what it decorates.
The indirect cost is yield. A decoration that has to be positioned within a tolerance on a stretch panel produces more rejects than the same artwork on a stable one, and every reject takes a finished panel with it rather than a piece of fabric. Where yield matters — and at this gauge it usually does — prefer routes with a wide process window over routes with a beautiful result that only one operator can achieve.
Programme numbers are unchanged by the decoration route: MOQ 500 pcs per style and colourway, sampling 6-10 working days from a signed-off tech pack, bulk production 35-50 days from sample approval, inspection at AQL 2.5 under ISO 2859-1 General Inspection Level II, T/T 30/70, quoted FOB Xiamen. What decoration does add to the plan is approval time, because a printed approval sample has to be agreed before bulk and it costs a sampling cycle to change.
Choose the print route before the face fabric
Send the artwork, the colourway and the position. You get a route recommendation with the press parameters and the verification tests behind it, within one business day.
Frequently Asked Questions
Can you print on neoprene?
Yes, by three reliable routes: dye-sublimation into a polyester face, a silicone or high-stretch screen print, or an applied badge. Each has its own constraints and its own failure mode.
What is the best print method for a neoprene bag?
Dye-sublimation into a polyester face, because the dye becomes part of the fibre and there is no film to crack or lift. It needs a light colourway.
Why does my logo crack on neoprene?
Because the print cannot extend with the panel. It is usually a rigid plastisol or transfer film on a stretch face, cured to parameters that were never validated on the actual laminate.
Can neoprene be sublimated?
Yes, into a polyester face fabric. The two constraints are that the face must be polyester and that the colourway has to be light, since the dye is transparent.
Is embroidery possible on neoprene?
Yes, with a backing, a substantially reduced stitch density and careful placement away from folds and seams. Accept that it perforates the closed-cell structure locally.
How hot can the press be for a heat transfer?
Lower than most operators assume. Record and validate temperature, dwell and pressure on the actual panel, because too much heat collapses the foam beneath the print.
Which tests verify a neoprene print?
Laundering colour change and crocking under AATCC methods, light fastness to ISO 105-B02, plus a stretch-cycle inspection before and after washing.
Does the print change how the panel feels?
It does. Any film or badge stiffens the decorated area, which is why total print coverage is limited on panels that have to fold.
How close to a seam can a logo go?
Keep a stated minimum distance from every seam, fold and edge, because that is where the panel flexes and where a rigid layer fails first.
What causes edge lift on a badge or print?
Edge lift is usually poor adhesion at the perimeter, made worse by a print applied with the panel under tension and then released.
What is the MOQ for a decorated neoprene build?
MOQ 500 pcs per style and colourway, with repeat programmes open to discussion at 300 pcs.
Does decoration slow sampling?
It adds approval time rather than production time. A printed approval sample has to be signed off before bulk, and changing it costs a full sampling cycle.
Can I put a photographed image on dark neoprene?
Not by sublimation, since the dye is transparent. Use a transfer film onto a light panel within the design, or a silicone print building opaque layers.
What should go on the reference swatch?
A printed panel from the approved run, retained with its recorded press parameters, held against every reorder.
People Also Ask
Can you print on neoprene bags?
Yes. Dye-sublimation into a polyester face is the most durable, silicone screen print is the choice on dark colourways, and embroidery is used with caution.
Why does printing crack on neoprene?
The panel stretches and the print cannot follow it, so a rigid film cracks along the extension direction.
What is the best way to brand neoprene?
Dye-sublimation where the colourway allows, otherwise a high-stretch silicone print with a validated cure.
Is embroidery bad for neoprene?
It perforates the closed cells, so use a backing, a lighter density and keep it away from folds and seams.
How do I test a printed logo?
Wash it, stretch it to service extension for a stated number of cycles, then inspect for cracking, crazing and edge lift.
Sources and further reading
Every figure on this page is either our own programme data or attributed below. Open the originals before you write them into a specification.
- ISO 105-B02 — Textiles: colour fastness to artificial light, xenon arcInternational Organization for Standardization
- AATCC technical manual — colourfastness, laundering and crocking methodsAmerican Association of Textile Chemists and Colorists
- ISO 2859-1:1999 Sampling procedures for inspection by attributesInternational Organization for Standardization