How Large Is the Print Area on a Wine Bag, and Where Does the Logo Go?
The printable area on a wine bag is set by the seams, the handle and the closure rather than by the panel size. A two-bottle carrier gives about 150 by 200 mm of usable area on a front panel of 190 by 300 mm.
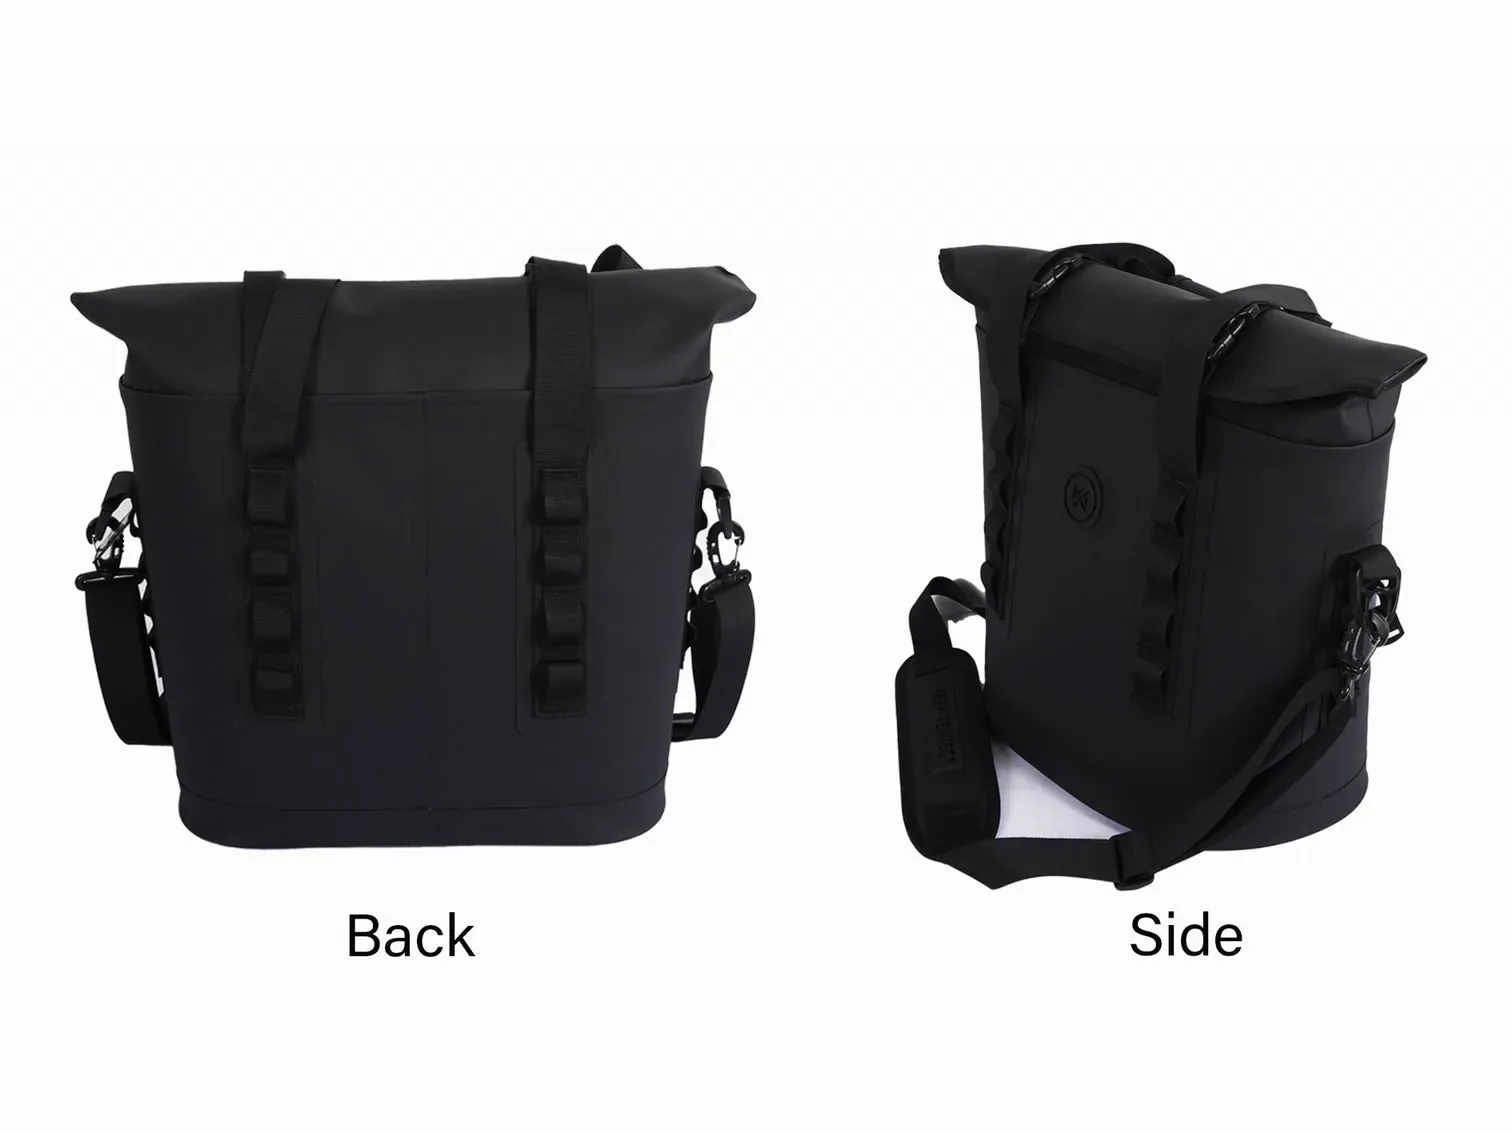
The printable area on a wine bag is set by the seams, the handle and the closure rather than by the panel size. A two-bottle carrier gives a front panel of roughly 190 by 300 mm with maybe 150 by 200 of it usable once the handle patch and the seam allowances are taken out. A six-bottle carrier gives a wider side panel and a narrower front. Measure on a packed bag, not on a flat one.
Artwork for a wine bag is drawn to a panel size and then cut down by whoever has to fit the hardware around it. The result is a mark that is smaller than the brand wants, off-centre, or sitting across the line where the panel curves around the bottles. All three are predictable and all three are prevented by one measurement.
The method choice that sits behind this is in Branding Wine Bags, and the shell constraint is in Wine Bag Materials. This piece is about the geometry.
How Large Is the Printable Panel on a Wine Bag?
Smaller than the panel, and the gap between the two is bigger on a wine bag than on most bags. A two-bottle carrier has a front panel of roughly 190 mm wide by 300 mm tall. Take out the seam allowances, the handle attachment patch and the top binding and the usable area is around 150 by 200 mm. That is the number the artwork has to be drawn to, not the panel dimension.
The reason the gap is large is that a wine bag is built around a load path. The handle has to be attached into a reinforcement patch that reaches the base, and that patch occupies a strip down the panel. On a six-bottle carrier the loop runs under the base and up both sides, so it takes a strip out of both side panels as well.
The second reason is the curve. A panel that is flat when the bag is empty is curved when it is packed, and the printed area has to sit inside the flat part. That leaves a usable area that is narrower than the panel and shorter than it, and it is the reason a mark drawn to the panel edge ends up wrapping around the side.
| Format | Panel, nominal | Seam and binding allowance | Handle patch | Usable print area |
|---|---|---|---|---|
| 1 bottle sleeve | 110 x 320 mm | 15 mm each side | none, a strap at the top | about 80 x 240 mm |
| 2 bottle carrier | 190 x 300 mm | 15 mm each side, 20 mm top | a 40 mm strip | about 150 x 200 mm |
| 4 bottle carrier | 380 x 300 mm | 15 mm each side, 20 mm top | two 40 mm strips | about 290 x 200 mm |
| 6 bottle carrier, front | 290 x 340 mm | 15 mm each side, 25 mm top | a 45 mm strip | about 220 x 240 mm |
| 6 bottle carrier, side | 190 x 340 mm | 15 mm each side, 25 mm top | a 45 mm strip | about 120 x 240 mm |
| Rigid gift-style base | plained or screen printed | n/a | n/a | the whole base, but it wears |
What Is the Maximum Print Area on Each Format?
The usable figures in the table above, and they are maxima rather than recommendations. A mark that fills the whole usable area leaves no tolerance for placement drift, and placement drift on a sewn panel is a few millimetres in every direction. Where the mark is a full-panel print, allow a margin; where it is a logo, place it inside a drawn box with dimensions from the seams.
The second limit is the print method itself. A screen print has a maximum bed and a practical maximum area before the squeegee pressure varies across it. A heat transfer has a platen size and the platen is smaller than the panel on most wine bags. A sublimation print on neoprene can cover the whole panel because it is a panel process rather than a placement one.
The third limit is the panel construction. A print cannot cross a seam, a topstitch or a binding, and it cannot cross the line where a reinforcement patch sits underneath. Where a mark has to be large, the answer is sometimes a panel redesigned around the print rather than a print squeezed into the panel.
How Does Seam and Handle Placement Cut the Print Area?
By taking a strip out of the middle of the most useful part of the panel. A handle attached into a reinforcement patch occupies a vertical band, and because the patch has to reach the base on a heavy bag, that band runs most of the height of the panel. The print then has to go either side of it, which halves the width available for a single centred mark.
The workaround that works is to move the mark rather than the handle. A mark placed above the handle attachment, in the space between the top of the patch and the binding, is centred on the panel and it is in the area a customer sees when the bag is carried. A mark placed below the patch is at the base and it wears. Decide which one before the panel is cut.
The second workaround is a panel designed around the print: a separate brand panel sewn into the front, with the handle attached to the side gusset instead. It costs an extra operation and it gives the brand the whole front face, which on a premium wine bag is usually worth the operation.
What Minimum Logo Size Prints Legibly?
About 15 mm of cap height for a single-colour wordmark on a woven face, 25 mm or more for a script face or a two-colour mark with a registration between them, and about 6 mm for text on a woven label. Below those the counters inside letters close up, a thin stroke breaks, and a mark that cannot be read reads as a defect rather than as a brand.
The substrate moves the number. A bold mark reads at 15 mm on canvas, at 20 mm on an open jute weave and at 12 mm on a smooth coated face. A print on a padded panel reads worse than the same print on a flat one, because the padding breaks the edge of the stroke.
The way to settle it takes ten minutes: print the mark at three sizes on the bulk material, look at it at arm length and at reading distance, and pick the smallest that reads at both. Approve that physical sample rather than a drawing, because a drawing at 15 mm is not a print at 15 mm.
How Many Colours Can Each Method Carry?
Screen printing carries one colour per screen and the practical limit on a wine bag is three or four, because each colour is a separate pass with its own registration and its own drying time. A heat transfer carries full colour in one application, because the image is printed first and applied second. Embroidery carries a limited number of thread colours, usually six to twelve on a single head, and each colour change is a stop.
The cost structure differs and it is worth knowing before the artwork is drawn. Screen printing costs per colour per position, so a four-colour mark costs roughly four times a one-colour one. A transfer costs per sheet and the number of colours is almost free. Embroidery costs per thousand stitches, so a large filled area costs more than an outline of the same size.
Where a brand has a full-colour mark and a small quantity, a transfer is usually the answer. Where a brand has one or two colours and a long run, screen printing is usually the answer and it is more durable. Where the mark has to survive washing, embroidery wins regardless of the colour count.
Fixing the print area on a wine bag
- The usable area is the panel minus the seams, the binding and the handle patch — often half the panel.
- Fifteen millimetres of cap height is the working minimum for a wordmark on a woven face.
- Move the mark rather than the handle: above the attachment patch is the space that is seen.
- A transfer carries full colour in one application; screen printing costs per colour per position.
- Approve a physical print at the chosen size, not a drawing at that size.
What Registration Tolerance Is Realistic?
One to two millimetres between colours on a screen print and on a transfer, and more on a padded or a stretch panel. A brand guideline written for paper usually asks for less, and asking for a tolerance the process cannot hold produces an argument rather than a better bag. State the tolerance you will accept and check that the process can hold it before the artwork is finalised.
The tolerance that matters more is placement rather than registration: where the mark sits on the panel. Three millimetres is a realistic tolerance on a sewn panel and five is generous; below three the panel has to be jigged, and jigging costs an operation. Put the tolerance on the drawing as dimensions from two seams rather than as a single centred note.
Where a mark runs across a seam or a panel join, no registration tolerance is realistic, because the two sides of the seam move independently when the bag is packed. A mark that has to be large enough to cross a join should be printed on a single panel rather than assembled across two.
| Method | Colours | Registration between colours | Placement tolerance | Minimum mark size |
|---|---|---|---|---|
| Screen | one per screen, three or four practical | 1-2 mm | 3 mm from a seam | 15 mm cap height |
| Heat transfer | full colour in one application | set on the sheet, 1 mm | 3 mm from a seam | 15 mm cap height |
| Embroidery | six to twelve thread colours | set by the digitising | 3 mm, and it can pucker | 20 mm, detail simplified |
| Woven label | up to eight weft colours | set by the weave | 2 mm in a seam | 6 mm cap height |
| Sublimation on neoprene | full colour, whole panel | n/a, it is a panel process | the whole panel | 12 mm cap height |
How Is Print Position Measured on a Curved Panel?
From two seams rather than from a centre line, on a packed bag rather than an empty one. A mark described as centred on the panel is a mark whose position depends on how the panel was cut and how it is sitting at the moment it is measured. Two dimensions from two seams is a position that can be checked with a rule at goods in.
The packed measurement is the one that catches the distortion. A panel wrapped around bottles is not the same shape as the same panel flat, and a mark that is centred on the flat panel can sit 5 mm off and be visibly skewed on the packed one. Measure with the bottles in.
The third measurement is at the top and the bottom of the mark rather than at its centre, because a skewed mark has a correct centre and two wrong corners. A tolerance written for the corners is a tolerance that catches skew, and a tolerance written for the centre does not.
Does the Divider Show Through the Print?
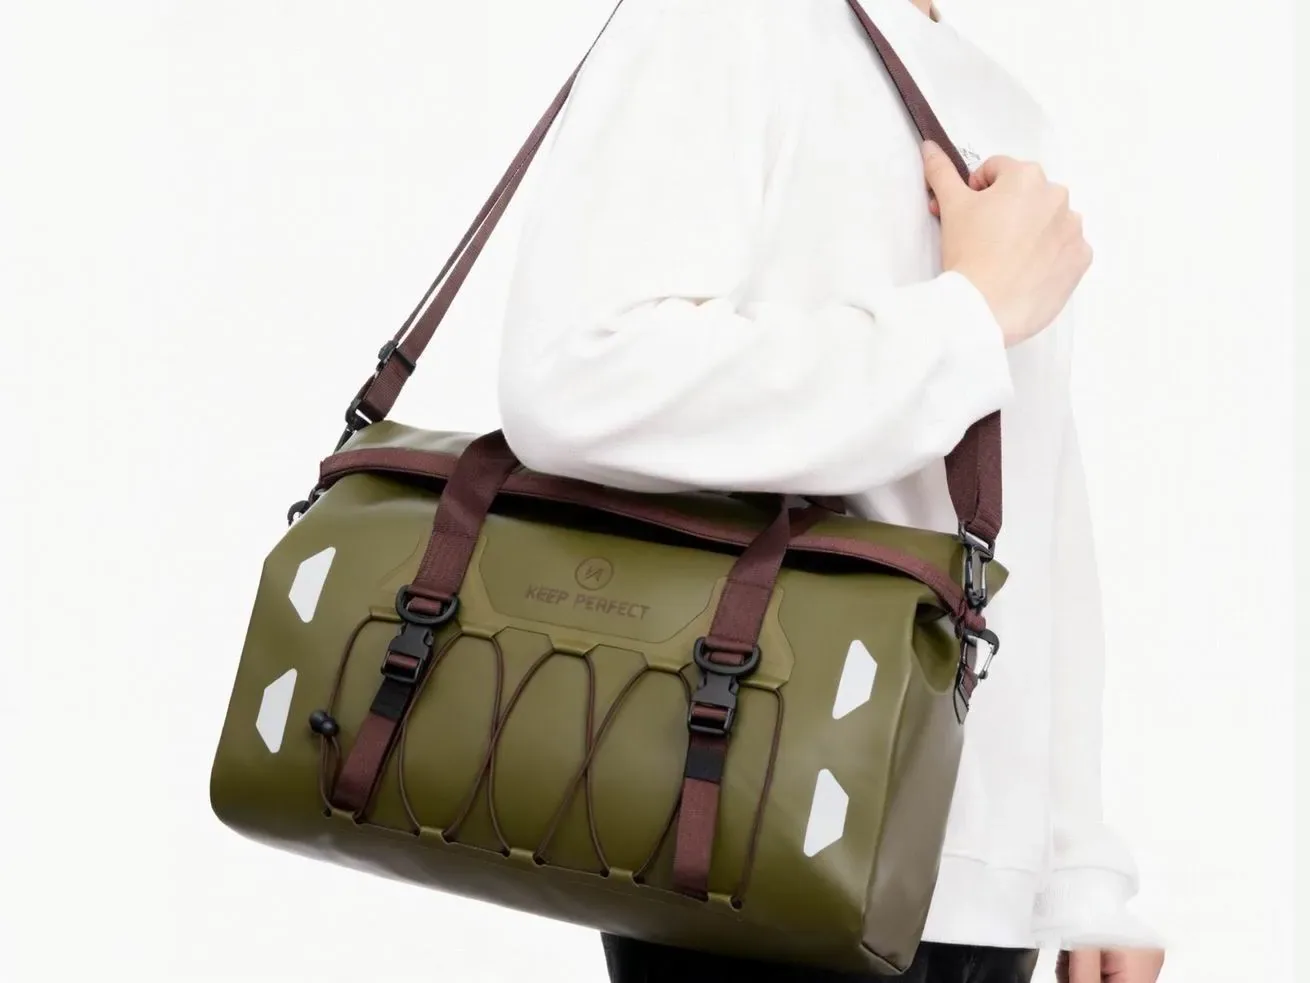
It can, and it is a wine-specific failure that has no equivalent in most bag categories. A thin shell over a rigid divider can show the cell edges as lines across the print, particularly on a light-coloured shell and particularly where the print is a solid fill. A bonded or a padded panel hides it; a single-layer shell over a 3 mm board does not.
The fix is one of three: an interlining between the shell and the divider, a padded panel, or a print that does not fill the area over the cells. Where the artwork is a solid block of colour, the interlining is the answer, and it is one layer and one operation.
The same effect shows the base board and any seam underneath it, and it is worth checking the sample under raking light rather than straight on. A photograph taken head-on will not show it and a customer in a shop will.
What Print Defects Belong in the Inspection Class List?
Write them per method and put a number on each, because "the logo is wrong" is not something a goods-in team can act on. For a print: no lifting at the edge, a stated colour difference from the approved swatch, a stated position offset from the drawing, no broken stroke. For embroidery: no broken thread, no puckering beyond a stated amount, no backing visible. For a label: no frayed edge, the correct fold, position within tolerance.
Then classify them, because the classification decides whether a lot ships. Minor is a defect a customer will not notice at arm length: a colour a shade out, a mark 2 mm off. Major is one they will: a mark lifting at the edge, a skewed mark, a wrong colour. Critical is one that makes the bag unsellable: a wrong brand, a missing mark, a mark that is illegible.
At AQL 2.5 under ISO 2859-1 General Inspection Level II, a 500-piece wine bag order draws code letter H: 50 units, accept 3 and reject 4 for major defects. Criticals are zero-tolerance at every level, which is why a wrong brand mark is not a negotiation.
- Artwork
- Vector, with the minimum size and a physical colour reference
- Method
- Screen, transfer, embroidery, woven or sublimation, matched to the shell
- Max area
- The usable area in millimetres, after seams, binding and handle patch
- Position
- Two dimensions from two seams, with a tolerance, measured packed
- Colours
- The number, and the registration tolerance between them
- Panel
- Which panel, and whether it stays flat when packed
- Interlining
- Where the divider or the board would show through a solid print
- Defects
- A written criterion per method, with a number on each
- Classification
- Minor, major and critical, written before the inspection
- Approval
- A strike-off on bulk material, then a marked panel sewn into a production bag
On the programme side: MOQ 500 pcs per style and colourway, sampling 6-10 working days from a signed-off tech pack with vector artwork and the physical bottles, bulk production 35-50 days from written sample approval, T/T 30/70, FOB Xiamen. A new screen, a transfer film or an embroidery file is a one-off line on the first invoice and it is not charged again on a reorder of the same artwork.
Measure the print area before the artwork is drawn
Send the artwork, the shell, the count and the format. You get a usable print area, a placement with tolerances and a written inspection criterion, within one business day.
Frequently Asked Questions
How big is the print area on a wine bag?
A two-bottle carrier gives a front panel of about 190 by 300 mm and roughly 150 by 200 mm of usable area once the seams, the binding and the handle patch are taken out.
Why is the usable area so much smaller than the panel?
Because of the load path. The handle is attached into a reinforcement patch that reaches the base, and that patch takes a strip out of the most useful part of the panel.
What is the smallest logo that prints on a wine bag?
About 15 mm of cap height for a single-colour wordmark on a woven face, 25 mm or more for a script face or two colours, and about 6 mm for text on a woven label.
How many colours can a wine bag print carry?
Screen printing carries one per screen and three or four is practical. A heat transfer carries full colour in one application. Embroidery carries six to twelve thread colours.
What registration tolerance is realistic?
One to two millimetres between colours, and about three millimetres of placement tolerance from a seam on a sewn panel. Below three the panel has to be jigged.
How should print position be specified?
Two dimensions from two seams, with a tolerance, measured on a packed bag. A mark described as centred is a mark whose position depends on how the panel was cut.
Can a logo cross a seam?
It can and it should not. The two sides of a seam move independently when the bag is packed, so no registration tolerance holds across one.
Does the divider show through the print?
It can on a thin shell over a rigid divider, particularly under a solid fill on a light shell. An interlining, a padded panel or an open artwork all fix it.
How are print defects classified at inspection?
Minor is what a customer will not see at arm length; major is what they will; critical is a wrong or illegible brand mark, and criticals are zero-tolerance.
What sample size applies to a 500-piece wine bag order?
ISO 2859-1 at General Inspection Level II draws code letter H: 50 units, accept 3 and reject 4 at AQL 2.5 for major defects.
How is a print approved before bulk?
A strike-off on the bulk material at production parameters, then a marked panel sewn into a production bag and checked packed.
What is the MOQ for a printed wine bag?
MOQ is 500 pcs per style and colourway, and 300 pcs can be discussed on a repeat. A new screen or film is a one-off line on the first invoice.
Does a padded panel change the minimum logo size?
Yes, it increases it. Padding breaks the edge of a stroke, so a mark that reads at 15 mm on a flat panel needs 20 mm on a padded one.
Does the print area change with the bottle count?
Yes. A six-bottle carrier gives a wider front panel than a two-bottle one and a narrower usable area on the side, because the handle loop runs up both sides.
People Also Ask
How big can a logo be on a wine bag?
About 150 by 200 mm of usable area on a two-bottle carrier, and about 220 by 240 mm on the front of a six-bottle one.
What is the minimum logo size for a bag?
About 15 mm of cap height for a single-colour wordmark on a woven face, and 20 mm on a padded panel.
How many colours can you print on a wine bag?
Three or four by screen, full colour by heat transfer, six to twelve thread colours by embroidery, and full panel by sublimation on neoprene.
Where does a logo go on a wine bag?
Above the handle attachment patch, clear of the seam allowances, on the panel that stays flat when the bag is packed.
How do you measure print placement on a bag?
Two dimensions from two seams, with a tolerance, measured with the bottles in rather than on an empty bag.
Sources and further reading
Every figure on this page is either our own programme data or attributed below. Open the originals before you write them into a specification.
- ISO 2859-1:1999 — sampling procedures for inspection by attributesInternational Organization for Standardization
- AATCC 16 — colorfastness to lightAmerican Association of Textile Chemists and Colorists
- ISO 13934-1 — textiles: tensile properties of fabricsInternational Organization for Standardization